Showing posts with label cookies. Show all posts

Saturday, April 19, 2014

Oatmeal Cream Pies

Every time I pass the Little Debbie Oatmeal Cream Pies in the grocery store I get a strong urge to buy at least 10 boxes of these things. I don't, but I really want to. :) So, I have been resisting that urge by completely avoiding that isle, it has been working out...sort of.

I decided to try to make my own, no crazy chemicals or preservatives (except for in the marshmallow cream). I can't take credit for this amazing recipe, head on over to Bravetart to see the original recipe and the recipe to make homemade marshmallow cream. Head on over there just to give thanks for posting such a great recipe!

This recipe does require the use of a kitchen scale.

Oatmeal Cream Pies
yield 30 sandwiches (60 individual cookies) with a 1" cookie scoop

Cookies:

8 oz.    A.P. Flour
4 oz.    Old-Fashioned Oats
1/2 oz.    Cocoa Powder
2 oz.    Dried Apple Rings
3 oz.    Butter, Room Temp
2 1/4 oz.    Oil (I used vegetable)
7 oz.    Sugar
1 1/2 oz.    Molasses
3 oz.    Corn Syrup
1 1/2 tsp.    Baking Soda
1/2 tsp.    Baking Powder
1/2 tsp.    Salt (Omit if using salted butter)
1/4 tsp.    Ground Ginger
1/4 tsp.    Cinnamon
1/4 tsp.    Mace Powder
1    Egg
2 oz.    Milk

Filling:

2 cups    Marshmallow Cream
4 oz.    Butter, Room Temp
Pinch    Salt (omit if using salted butter)
1/2 tsp.    Milk
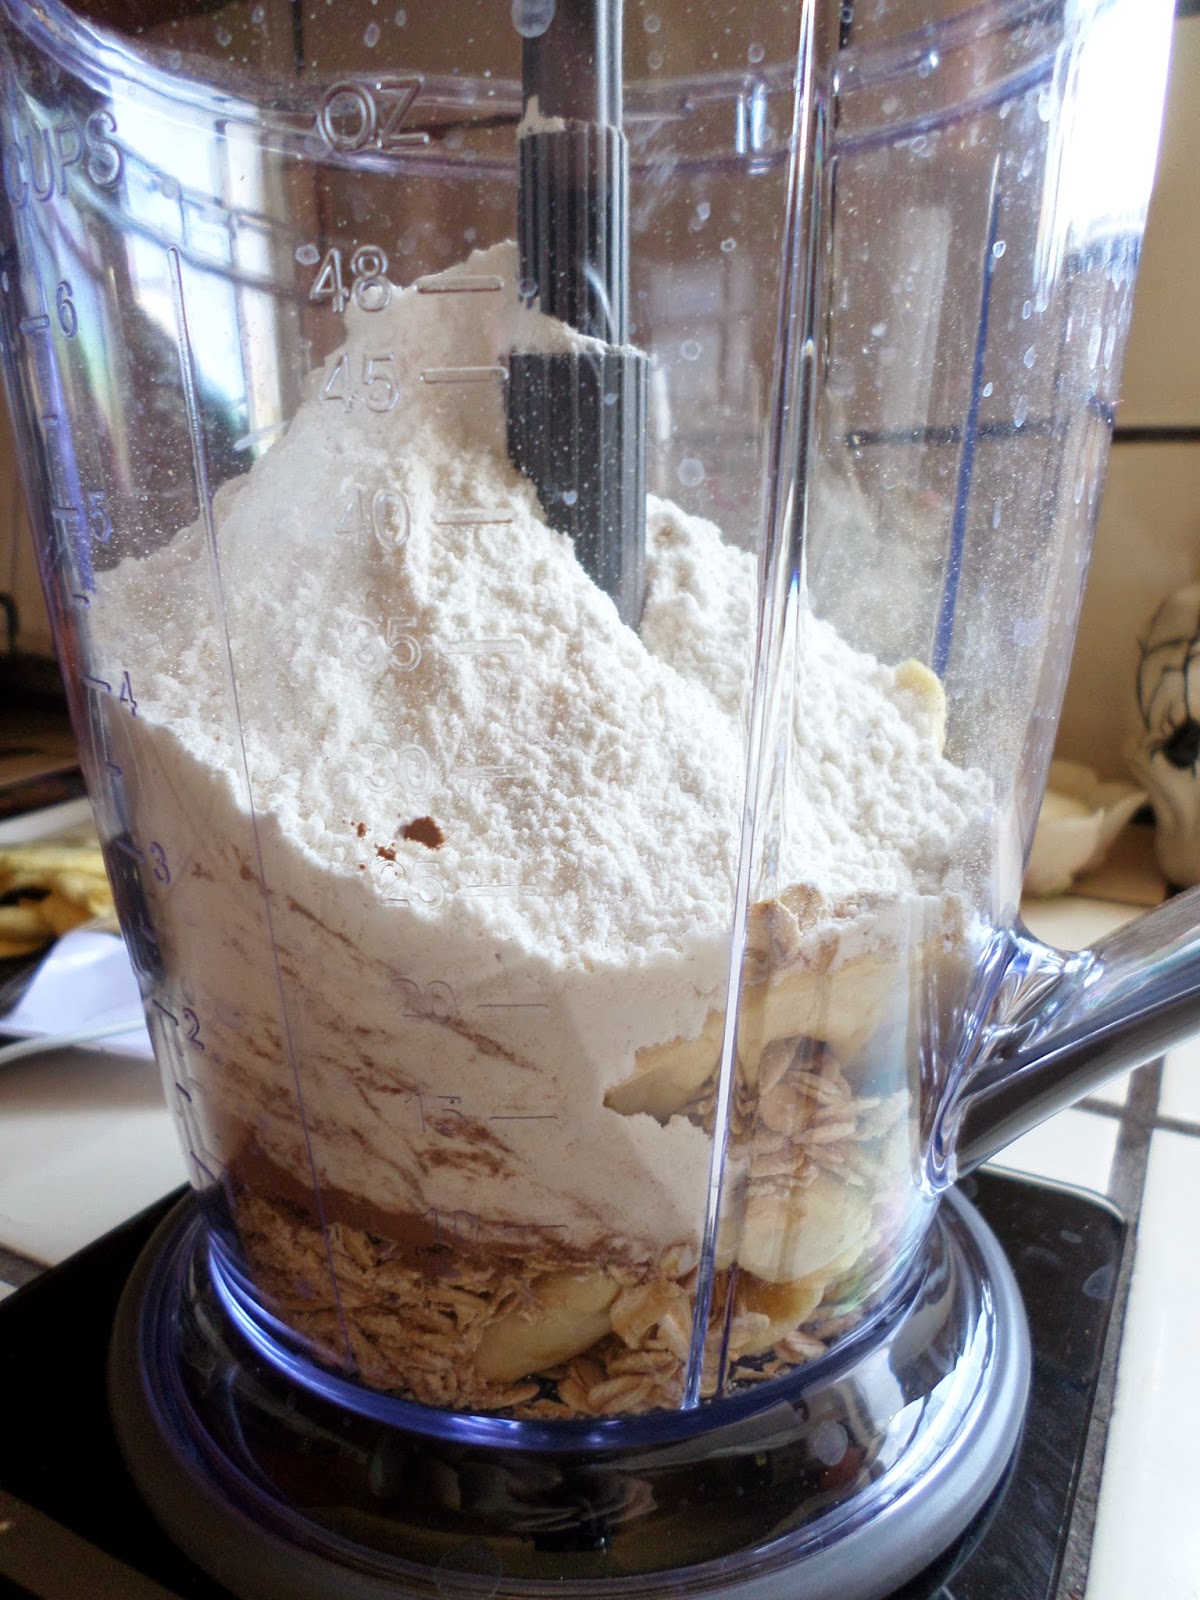


Place dried apples, oats, cocoa powder, and flour in a food processor. Blend until no large chunks remain. About 2-4 mins.


This is what it will look like, set aside.


In a medium bowl, place butter, oil, sugar, molasses, corn syrup, baking powder, baking soda, salt (if used), cinnamon, mace, and ginger. Mix until combined.


Mix in the egg until combined.


Place the dry ingredients and the milk in the bowl.


Fold in with spatula until combined.


I used a 1" cookie scoop, place 12 cookies on a sheet pan.


Bake at 350F for 10 min. Rotate halfway through.

let cool enough so you can place them on a cooling rack without breaking.


For the filling, place marshmallow cream, and butter (I used margarine). Mix until smooth.

*Note: Marshmallow cream is very, very sticky, be prepared to have it all over your fingers*


Add in powder sugar and salt, mix until light and fluffy.


Place cream into a pastry bag (I used an 807 tip).


Pipe a dollop into the center of half of the cookies, place top cookies onto the dollop and press so the cream reaches the edges of the cookies.


yum, yum!


Enjoy!

Wednesday, April 16, 2014

Banana Cookies

Have you ever bought bananas thinking "oh yeah! Those are going to be delicious in my tummy." Then a few days pass, and they are slowly dying. Yep, that has happened to me! Today, in fact, I had some aging bananas giving me the stink eye for leaving them to sit. So, I decided to make something out of them, give them new life so to speak. Haha.

I didn't want to do yet another banana bread, so I went on the lookout for an alternate recipe to use my brown bananas. Well, guess what I found? *Drumroll please* a banana cookie recipe! I was very excited, I have never made banana cookies before...could it even be done? What is this sorcery?

So I set out to make them and oh my goodness! These little bite size cookies are delish! They are moist, banana-y, and very easy to make.

I found the recipe on Pots Pans & Parkers, there is even a delicious looking frosting that goes on top. I didn't want these to be too sweet so I omitted the frosting, but, head on over there if you want to try it out.

Banana Cookies
yield 45 cookies (1" cookie scoop)

3/4 cup    Shortening or Butter
3/4 cup    Sugar
1    Egg
1/2 tsp.    Vanilla
2    Mashed Bananas
1/4 tsp.    Baking Soda
2 cup    Flour


Place shortening (or butter) and sugar into a bowl.


Mix until creamy and combined.


Add the egg, bananas (as you can see I did not mash mine, they were pretty soft), and the vanilla.


Mix together, doesn't that look yummy? :P


Add in the flour and baking soda in a few additions. Mix until combined.


Using a 1" cookie scoop, I put 15 on each sheet pan (I sprayed my pans with cooking spray, feel free to use parchment). The cookies don't spread too much.


Bake at 350F for 8-10 mins. Bottoms will be golden brown, like the picture below.


Enjoy!

Tuesday, October 15, 2013

Chewy Chocolate Chip Cookies

Now we get to my favorite type of cookie. The chewy kind! I think there is nothing better than biting into a soft, gooey chocolate chip cookie, no crunching involved. Well, I meant for these to be spider chocolate chip cookies but the spidering of the melted chocolate chips didn't work out as well as i thought it would. I'm not sure if you have seen the post on pinterest but they look super creepy! I love it. I am going to practice a little and hopefully I can post the finished product for you!

So, I whipped up a batch of these yesterday and I think I ate about 6 of them! I had to tear myself away from these bad boys before I ate all of them! Definitely try these out, let me know what you think of them.

Chewy Chocolate Chip Cookies
Adapted From: The Girl Who Ate Everything

Yield: 4.5 Dozen (with a 1" cookie scoop)

2 Cups    A.P. Flour
1/2 Tsp.    Baking Soda
1/2 Tsp.    Salt (omit salt if using salted butter)
3/4 Cup    Butter, Melted
1 Cup    Brown Sugar, packed
1/2 Cup    Sugar
1 Tbsp.    Vanilla
1    Egg
1    Egg Yolk
2 Cups    Chocolate Chips


Sift together the flour, baking soda, and salt (if used)


In a separate bowl mix together the brown sugar, melted butter, and regular sugar.


Mix well. It will look like this.


Add in the egg, egg yolk, and vanilla.


Mix until light in color. (it won't take long).


Add the dry ingredients, I mixed it in with a spatula.


Add in the chocolate chips, mixed in with a spatula.


Parchment line your baking sheets, and place 1" cookie dough balls. I put 12 on each pan. Make sure to space them because they will spread.

*Because this made a ton of cookies, I ended up having to do 3 different batches of cookies*


Bake at 325F for 11-14 min (mine took 12). Rotate halfway through.

Take out when the edges look done. The middle will still be soft and puffy, they will finish up in the pan while cooling down.

Cool cookies until you can transfer them without breaking, cool the rest of the way on a cooling rack.


Enjoy!


Wednesday, September 4, 2013

Crispy Chocolate Chip Cookies

I hope everyone had a great weekend! I made a tres leches cake for my mom's birthday and had a huge BBQ for labor day, it was great!

So, onwards! When I am making cookies I like for them to be gooey, soft, and buttery! Mmm...Delicious. But, there are others...(like my husband)...that like crunchy cookies! So I went hunting for a crispy cookie recipe that would do the trick.

Crispy Chocolate Chip Cookies
adapted from The Curvy Carrot

Yield:About 30 Cookies

1 1/2 Cups    AP Flour
3/4 Tsp.    Baking Soda
1/4 Tsp.    Salt (Omit if using salted butter)
1 Stick    Melted Butter
1/2 Cup    Sugar
1/3 Cup    Brown Sugar
2 Tbsp.    Light Corn Syrup
1 Large    Egg Yolk
2 Tbsp.    Milk
1 Tbsp.    Vanilla
Chocolate Chips (any kind will work)/ Peanut butter chips/ Mint chips/ Cinnamon chips


In a mixer bowl, mix together the melted butter, sugar, brown sugar, and corn syrup on medium speed until combined with the paddle attachment.


Add the egg yolk, milk, and the vanilla (I use vanilla paste for everything so that is why it looks really thick) mix until combined.


Add the flour, baking soda, and the salt (if used), mix just until combined.


Now, I split mine into two batches, I mixed this one with mint chips.


And this one with regular chocolate chips.


Scoop them out in whatever size you want. If you want consistent cookies I would use a cookie scoop. Place about 2 inches apart on cookie sheet.

Bake at 375F For 12 mins. Rotate halfway through. Cool on wire rack.


Enjoy!


Wednesday, June 26, 2013

Cookie Dough Bites

I saw these little gems on a blog called bakerella. Which I am sure most of you have come across, and if you have not please go. It is an amazing blog! These were delicious and did not last very long at my house.

Cookie Dough Truffles
1/2 Cup    Butter, room temp
1/4 Cup    Sugar
1/2 Cup    Packed Brown Sugar (I used dark, bakerella used light)
2 Tbsp.    Milk
1/2 tsp.    Vanilla
1 1/4 Cup    AP Flour
1/2 tsp.    Salt (if using unsalted butter)
1/2 Cup    Mini Chocolate Chips

For Coating
either
Chocolate candy coating
Or
2 Cups    Chocolate chips
1 Tbsp    Shortening


Cut butter into chunks and put both brown and white sugars into bowl


Beat until light and fluffy, around 3 Min


Add milk and vanilla, mix until combined.


Add in flour and salt (if used) until combined.


Stir in chocolate chips with a spatula. Place into fridge (or freezer just don't forget about them) until firm enough to scoop and roll into 1" balls. Around 15-30 Min


I just estimated the size and ended up with 40 of them. Place onto a sheet pan with either wax or parchment paper. Place into freezer for at least 15 min to firm up. 

I cut cake pop sticks in half and put one in each cookie dough bite. 

For the coating either follow the directions on the back of the candy coating package or:
melt the 2 cups of chocolate chips with the 1 Tbsp of shortening until smooth, melt 30 seconds at a time and stir.

Take out of freezer and dip however you like, you can dip all the way like Bakerella, or like caramel apples like mine. You could even put into a decorating bag and drizzle it over the bites.

Place back into the fridge to firm up, keep refrigerated for up to a week


Enjoy!